We've developed the OKR tool in the Kalungi App to provide a simple, structured, OKR creation flow so that all of your teams' goals are laid out in the same format.
Setting up your OKR Set
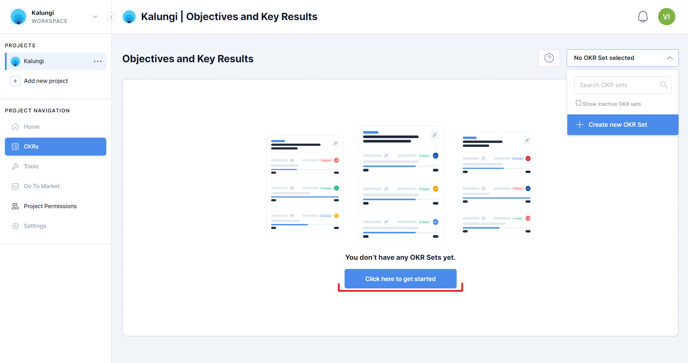
To create the OKR Set, click either "Click here to get started" or the "+ Create new OKR Set" option in the OKR Set selector dropdown.
You'll then be greeted by a slideout menu prompting you to "Create a new OKR set." Simply choose a name and time period for your OKR Set to continue.
You'll also see two toggles at the top of this menu. The first, labeled "Keep this OKR Set active," allows you to select if this OKR Set will be active (ie. Sending email and in-app notifications) or inactive. The second, labeled "Mark as this project's primary OKR Set," allows you to mark this OKR Set as the one that will load first for your team when they load up your project (Note: If this is the first and/or only OKR Set in a project, this latter option will be automatically selected as in this case it will necessarily be the first OKR Set to load for team members until an additional Set is created).
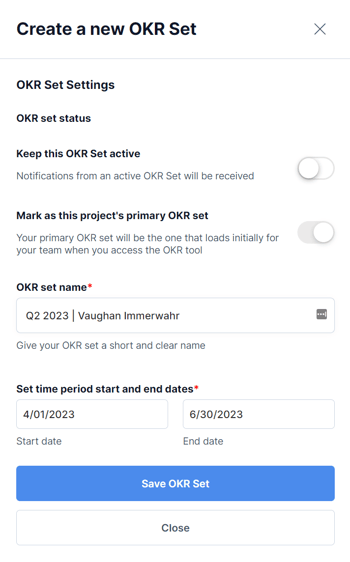
Click "Save OKR Set" to confirm your settings and you'll then see your new OKR Set populate.
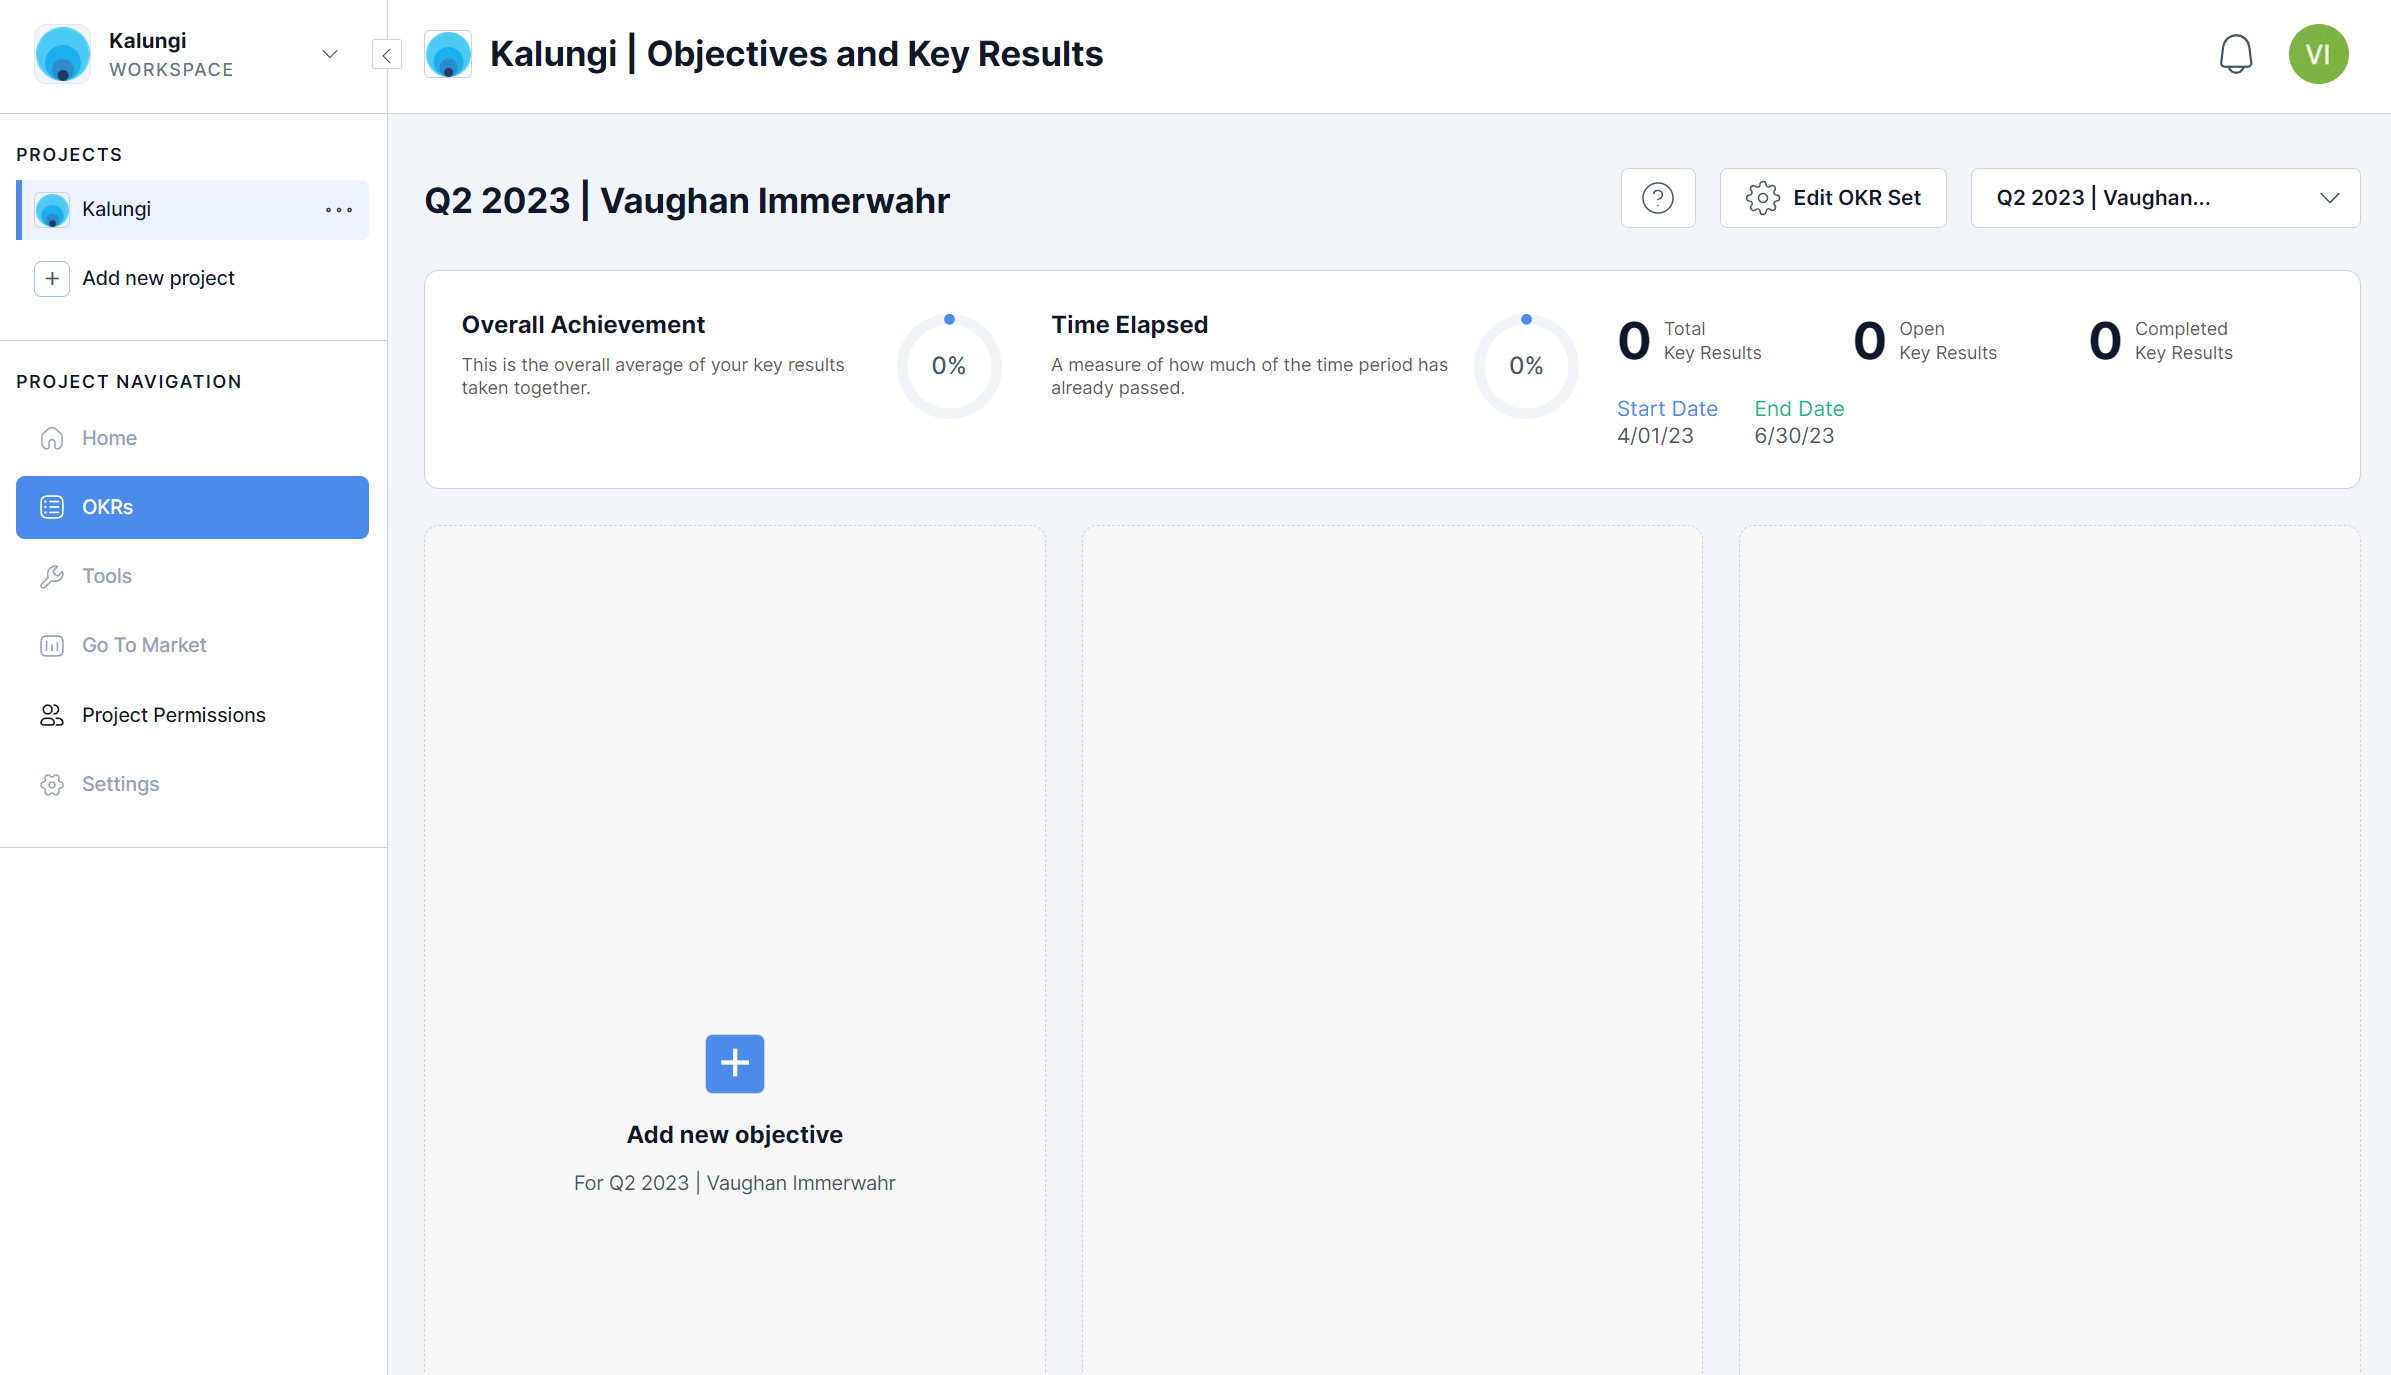
Next, it's time to create Objectives and Key Results for your OKR Set.
Creating Objectives and Key Results
Click "Add new objective" to start populating your new OKR Set. Add a name for your Objective and click "Add new objective" in the pop-up menu to confirm. Once created you can edit or delete your Objective any time by selecting the elipses at the top right corner of each Objective card to view the Objective options dropdown.
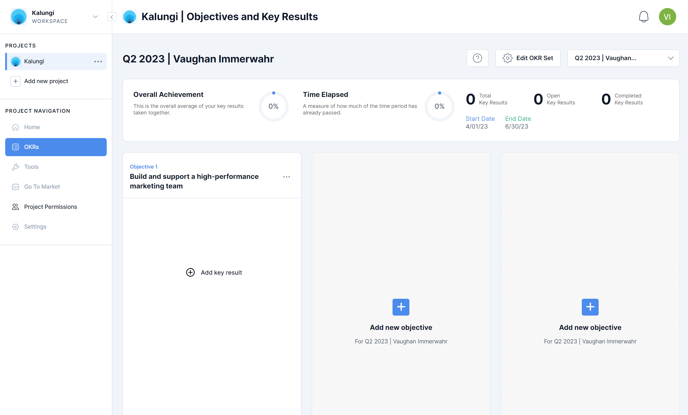
Next, click "Add Key Result" to start populating your Objective. This will open the Key Result editor pop-up.
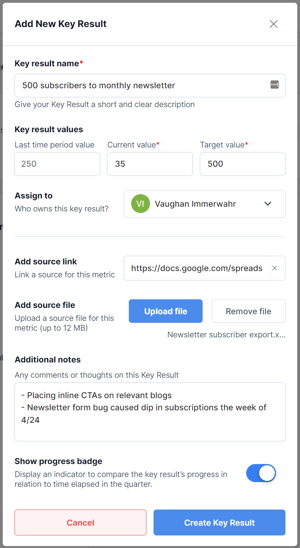
First, create a name for your Key Result that describes the specific, quantitative goal you would like to achieve (eg. 500 new subscribers to monthly newsletter). Then input your current value (eg. your progress up to this point) and target value. Optionally, you may also enter the value for the goal from a previous time period for your reference (eg. 250 subscribers gained in the last quarter).
Next, you have the option to assign a Key Result owner, the person responsible for this goal's progress. You can search through and select from any of the users you have added to your workspace.
You will also be given the option to add one relevant source link and one source file which will be attached to the Key Result and accessible to all Project members for quick reference.
There is also a multi-line text field in which you may enter any relevant notes on the Key Result for your reference.
The "Show progress badge" toggle will allow you to choose whether or not you would like a small badge to appear on your Key Result indicating whether your Key Result's progress is "Behind," "On track," "Ahead," or "Completed" according to its percent complete and the OKR Set's time period progress.
After clicking "Create Key Result," your Key Result will show up listed in it's respective Objective card.
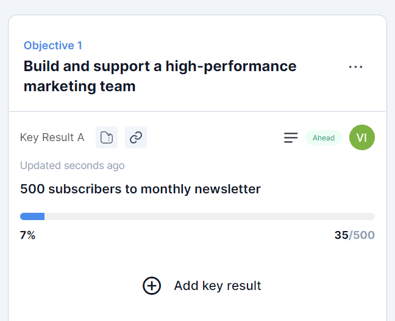
If you've decided to add a note, source link, or source file, you will see their respective icons on this view of your Key Result. Click the source link or file icons to open them in a new tab.
You can edit any of the values for your Key Result at any time simply by clicking it to open the editor pop-up again.