Welcome to the Kalungi App! After you’ve finished signing up and confirming your email (Note: this is only applicable for users joining without an invitation and without Google SSO), it’s time to set up your first Workspace.
Customizing your Workspace
This Workspace will be your company’s go-to-market hub, so in most cases should simply be named after your organization.
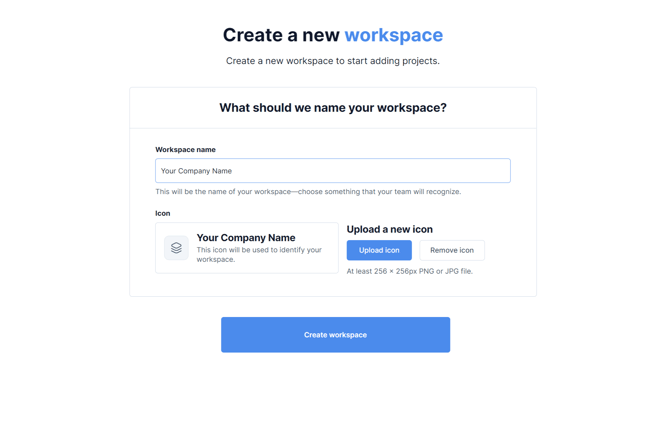
Use the “Upload icon” to select an icon that will represent your Workspace for all users. Or, leave this empty and an icon will be automatically generated with initials representing the first letters or numbers of your workspace name.
Creating your Workspace Profile
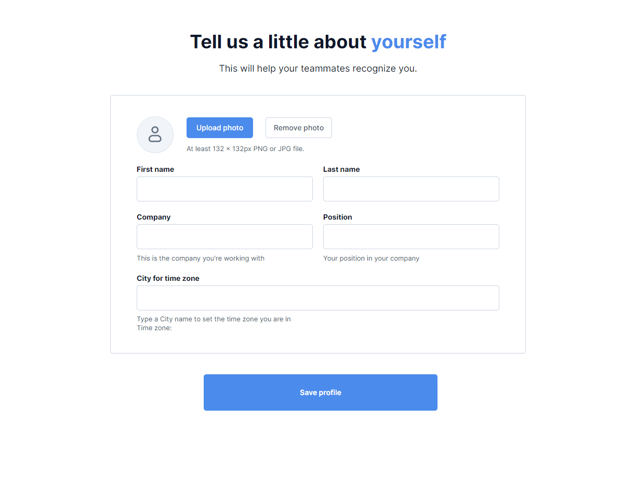
Now you’ll be prompted to create your Workspace Profile. This is the information that will be attached to your user profile within this Workspace. Just as with Workspaces, leaving the photo/icon blank will prompt the app to automatically generate one for you based on your Workspace Profile name.
Creating your first Project
If you are on the “Agency” plan (COMING SOON): When your profile is complete and you’ve selected “Save profile,” you’ll be prompted to “Add a new project” to your Workspace. You can use projects to differentiate between client accounts, adding “Limited” users to specific projects while preventing them from viewing materials from others. To start, however, you’ll likely wish to create a project for your own company.
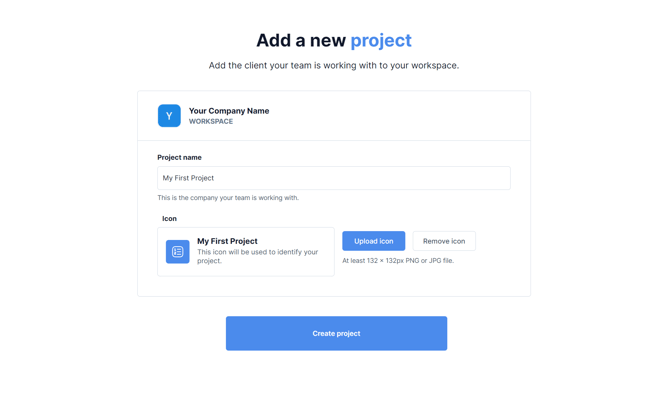
If you are on a “Basic” or “Premium” plan (PREMIUM PLAN COMING SOON): Because these plans are limited to one project, your first project will be automatically created for you based on information collected for your workspace. If for any reason you would like to modify the name and icon for your project, you may do so from your Workspace dashboard after finishing the setup process.
Adding team members
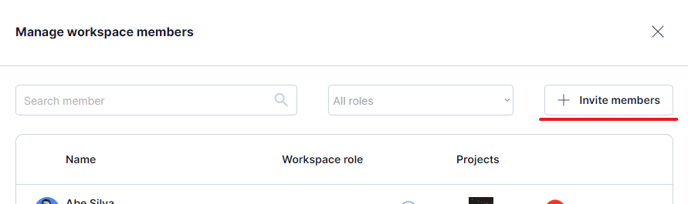
Though optional, you may wish at this point to add some team members to your newly created workspace. To do so, simply enter the users’ email addresses, clicking “+ Add another member” to create multiple invitations, select the appropriate permission level for each user, and click “Send invites.” Please note that only up to seven invitations may be sent at once.
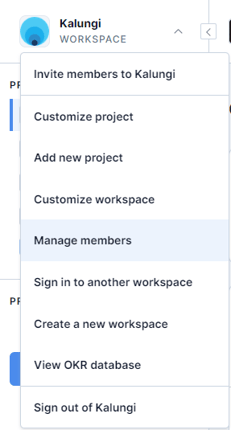
Whether you decide to add members at this time or not, you’ll be able to add more at any time from the “Manage members” menu of your Workspace, found in the Workspace options dropdown.
That’s it!
Congratulations! With your Workspace and Project set up, you’re all set to start building out your first set of OKRs.