Customizing the Global Footer Content
The global Footer is the area at the bottom of your page that summarizes your company's basic information. With this global content, you will be able to edit the website logo, navigation menu, address, contact information, legal disclaimer, and more. In order for us to preview and edit the global footer, we need to create a page. If you haven’t yet, check out this HubSpot article on how to create pages.
In this article, we’ll go over how to customize the content that shows in the footer. If you’d like to edit the footer’s menu variant, background color, or font, make sure to check out the global theme settings.
To Access the Website Footer Content Editor:
-
Navigate and edit a website page using the Atlas theme.
-
In the content editor, hover over the footer and click Edit module.
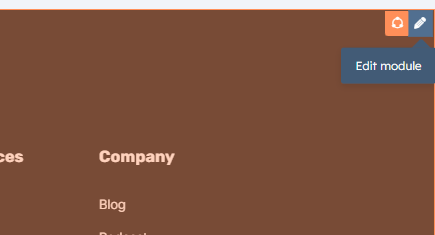
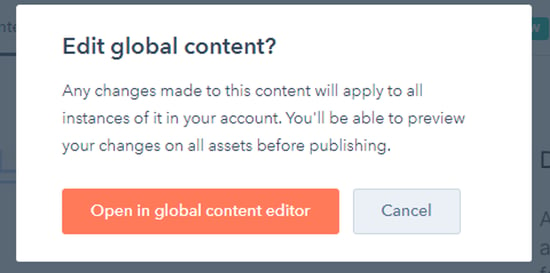
3. Note that changes to the global footer will affect all website pages using the footer. Click Open the global content editor.
4. On the left sidebar, choose the Footer option.
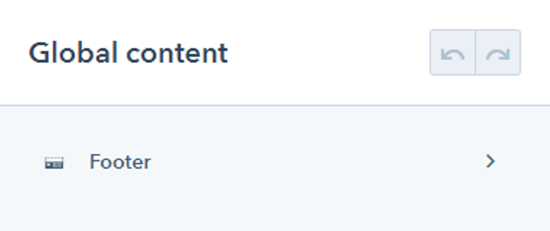
From here, and depending on the type of footer you're using, you will be able to add a logo, text content, social network icons, columns for links (Groups), a legal disclaimer, and edit the padding. Let’s go over some basic customizations.
Logo
This group of settings allows you to add and customize your brand’s logo.
| Image |  |
This is your brand’s logo. We recommend using an image that either doesn’t have a background, or that has a static background color that you can match with the Background Color setting available in the global Theme Settings. |
| Alt Text |  |
The alt is the written copy that appears in place of an image on a webpage if the image fails to load. It also serves as a description of the content for users that use text-to-speech. |
| Size |  |
The image size can be automatically adjusted to fit in all resolutions. You can also set it to an exact width and height. |
| Maximum Size |  |
The image size can be automatically adjusted to fit in all resolutions. You can also set it to an exact width and height. |
| Type |  |
This setting sets the link that the user gets redirected to when clicking your logo. Setting it to Custom Link allows you to set an Href |
| Href |  |
The Href field that can point to either a anchor or external webiste. Setting it to HubSpot Link allows you to select a Page, Blog Post, Blog Listing Page, or any kind of content that lives within your HubSpot account. |
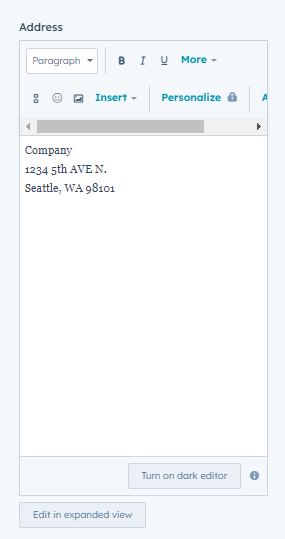
Address
This highly customizable rich text field is meant for you to input your company’s address, but feel free to add any other kind of content as well.
Socials
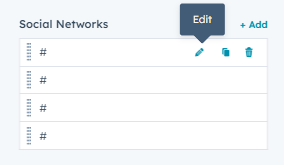
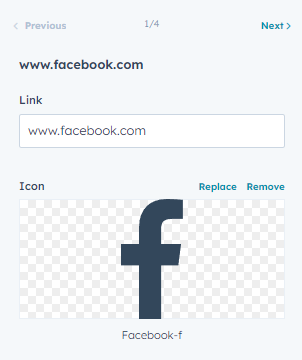
You can create multiple items that reference all of your social networks, platforms, etc. You can edit the platform’s Icon and link.
Groups
If you are using the normal footer variant, you can customize your navigation footer’s buttons. Each item in the groups section represents a group or category for your buttons. Let’s go ahead and edit the first group.
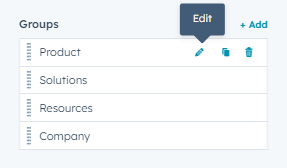
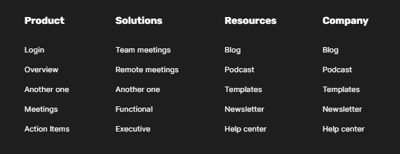
You are now able to change the group title and the menu content. If you have previously set up your header, you should be familiar with the Menu Editor. With this tool, you can customize all the buttons of your group and add links to each one of them. Click on the Edit Menu Content button to access the editor. Hovering with the cursor over an item will show the Actions dropdown, which can be used for multiple purposes, such as creating new items. Keep in mind that creating child items won’t have any effect at all since the footer does not feature a dropdown like the header does, so try keeping items in the highest hierarchy.

Legal
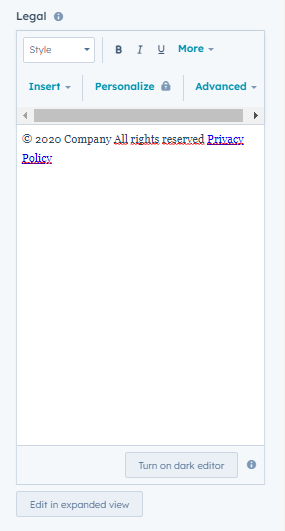
This highly customizable rich text field is meant for you to input your company’s legal disclaimer, but feel free to add any other kind of content as well.
Padding
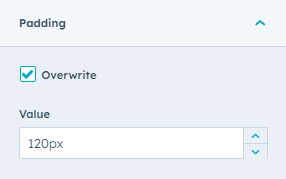
You can customize the vertical padding, which is the distance between your content and your footer’s border. If the Overwrite input is checked, you can adjust this value to any amount of pixels.
